As an Amazon Associate, we earn from qualifying purchases. Some links on this site are affiliate links at no extra cost to you. Our recommendations are based on thorough research and editorial judgment.

The Complete Guide to Installing Screen Protectors Without Bubbles
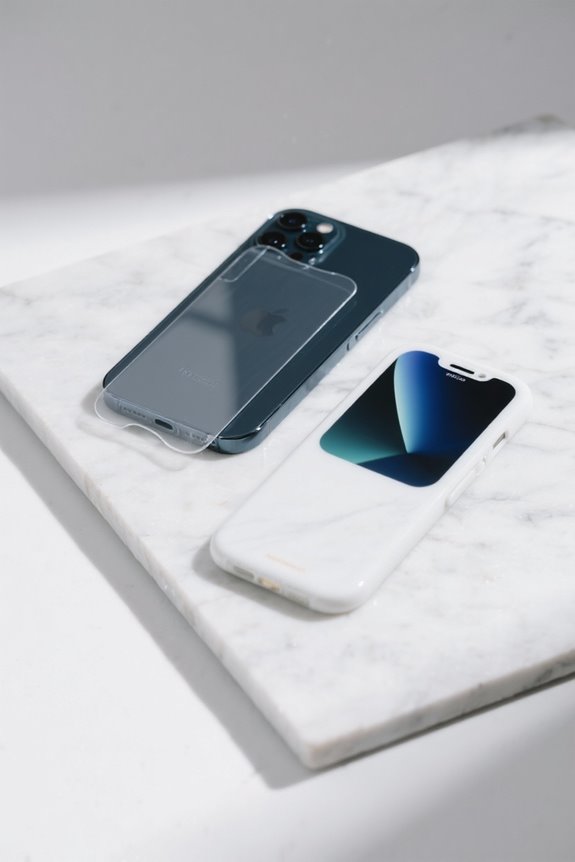
To install a screen protector without bubbles, first prepare a clean workspace with good lighting. Properly clean your phone using wet wipes, microfiber cloths, and tape for debris. In a dust-free environment, align the protector before application. Peel back the protective layer slowly, using a squeegee to push out air bubbles. After installation, avoid cleaning for 24 hours and handle the device carefully. These steps help achieve a flawless finish, and more tips await for success.
Key Takeaways
- Choose a dust-free and clutter-free environment to minimize bubble formation during installation.
- Clean the phone screen thoroughly using wet wipes and microfiber cloths to remove oils and dust.
- Align the screen protector carefully before applying and peel back the layer slowly to avoid trapping air bubbles.
- Use a plastic card to push bubbles towards the edges for easier removal during application.
- Allow the installation to settle for 24 hours in a dust-free environment for optimal adherence and bubble resolution.
Preparing Your Workspace for Installation

You may be interested


Preparing a suitable workspace is essential for a successful screen protector installation. Begin by selecting a clean, clutter-free area that benefits from good overhead lighting, which helps to minimize dust and enhances visibility. This initial step in preparing your workspace for installation is vital in ensuring a smooth application. Wash and dry your hands thoroughly to avoid transferring oils to the protective layer or screen. Additionally, utilize a lint-free towel to eliminate potential lint transfer during the installation process. Aim to work in a dust and pollen-free environment, as airborne particles can lead to unwanted bubbles. By taking these precautions, users can create a professional setup that promotes a flawless application of their screen protector. Easy installation methods are supported through precise templates and alignment kits, which contribute to bubble-free application processes and optimal adherence.
Cleaning Your Phone Screen Thoroughly

A spotless phone screen serves as the critical foundation for a successful screen protector installation. Start by using the wet wipes that typically accompany the screen protector; these help in removing oils and fingerprints, ensuring a pristine surface. Before proceeding, it is crucial to remove any existing screen protectors to establish a clean base that promotes better adhesion. Following this, take a dry microfiber cloth to wipe away any remaining moisture or dust particles. For that final touch, a piece of tape or a sticker can be used to pick up any stubborn dust clinging to the screen. Additionally, if surface-level scratches are present, address them prior to cleaning your phone screen thoroughly to maximize clarity and protection once the new protector is on. Investing in quality kits yields better long-term results by ensuring your device remains clean and functional.
Importance of Using a Dust-Free Environment

Ensuring a dust-free environment while installing a screen protector is integral to achieving ideal results. Tiny particles, like dust and pollen, can easily cling to the adhesive side, causing bubbles and misalignment. To mitigate this risk, one should prepare the workspace by thoroughly cleaning all surfaces with lint-free cloths, reducing dust contamination during application. Selecting a location with minimal airflow—preferably away from high-traffic areas—will also help prevent dust from settling. Additionally, using a pre-installation film can effectively lift dust and oil off the screen, ensuring a clean surface for excellent adhesion. Incorporating fire-resistant materials in workspace design can further enhance safety while preparing for installation. Ultimately, prioritizing a dust-free environment not only enhances the installation process but also maximizes the screen protector’s overall effectiveness.
Techniques for Applying the Tempered Glass

Achieving a bubble-free installation of a tempered glass screen protector requires precise techniques and careful attention to detail. First, align the tempered glass protector with the device’s screen, ensuring full coverage without contacting the screen yet. As you gradually peel back the protective layer from the adhesive side, lower the protector onto the screen slowly. This movement prevents bubble entrapment. Next, utilize a plastic card, like a credit card, to push the glass down from the center outwards, smoothing any potential bubbles. If bubbles form, use a squeegee or the card’s edge to guide them toward the screen’s edge for escape. Finally, allow the installation to settle for at least 24 hours in a dust-free environment for ideal adhesion. Consider using a screen protector with 9H hardness for superior scratch and impact resistance, as this feature provides added durability and protection for your smartphone.
Managing Air Bubbles During Installation

Minimizing air bubbles during the installation of a tempered glass screen protector is essential for an ideal finish. To achieve this, users should peel back the protector slowly, allowing it to fall into place gently. This method reduces the risk of entrapping air. Utilizing a plastic card, such as an old Starbucks card, can help further by smoothing out the protector and pushing any inevitable air bubbles toward the edges. If small bubbles do form, consistent pressure can help eliminate them. Remember, some air bubbles may gradually settle within 24 hours. Additionally, preparing a clean, dust-free workspace is vital, as airborne particles can lead to even more bubbles during installation. Careful attention to detail fosters best results. For optimal installation results, ensure you follow the manufacturer’s guidelines and use any special tools included with the protector.
Utilizing a Squeegee for a Smooth Finish
A squeegee enhances the installation process of a screen protector by offering both precision and power. This essential tool applies consistent pressure, effectively pushing out air bubbles. Users should employ firm, controlled pressure to avoid damaging the screen, ensuring proper adhesion without creases or misalignment. The most effective technique involves smoothing the protector from the center toward the edges, which minimizes trapped air bubbles. If bubbles appear during application, the squeegee can gently push them toward the edges, activating the adhesive in a “wave” effect. Regular squeegee use during installation not only results in a smoother finish but also enhances the overall appearance of the screen protector, effectively eliminating visual imperfections while improving durability. To further enhance the installation experience, consider using an advanced installation kit that includes alignment trays for a more precise application.
Post-Application Care for Your Screen Protector
How can one guarantee that their newly applied screen protector maintains its integrity and function? After installation, it’s important to avoid cleaning the phone’s screen for at least 24 hours. This waiting period allows the adhesive to properly set and any small bubbles to dissipate naturally. During the first few days, users should handle their device with clean hands, as oils and dirt can jeopardize the protector’s longevity. Additionally, storing the device horizontally in these initial hours is advisable; this position minimizes pressure-related risks that can introduce new bubbles. It’s also vital to keep the phone away from harsh environments, like extreme temperatures or high humidity, to maintain ideal performance. Regular evaluations for bubbles can also help identify imperfections that may resolve over time. To ensure optimal installation results, it is recommended to apply the screen protector in a dust-free environment, as this can significantly reduce the chances of bubbles forming during application.
Troubleshooting Tips for Bubble Issues
Encountering bubble issues during the installation of a screen protector can be frustrating, yet troubleshooting these imperfections is usually straightforward. To address bubbles, gently use a plastic card, pushing them toward the screen’s edge. This action helps release trapped air. For smaller bubbles that linger, apply pressure toward the cutouts while smoothing—many will dissipate over time. In cases of stubborn bubbles, consider allowing up to 24 hours for natural settling. If bubbles are caused by dust, carefully lift the protector using tape to remove debris before reapplying. Finally, avoid touching the protector during the first day to guarantee the adhesive adheres properly, thereby preventing further bubble formation. When choosing a screen protector, consider the 9H hardness to ensure superior scratch resistance and durability.
Exploring Alternative Screen Protector Options
Bubbles during installation can often be avoided entirely by considering alternative screen protector options available on the market. One effective approach involves brands like ZAGG, which offer professional installation services in-store, guaranteeing a perfect fit. For added convenience, some protector coverings come pre-installed in protective cases, eliminating the need for any application. Furthermore, user-friendly options are equipped with advanced technologies, like self-aligning designs, to facilitate a bubble-free installation process. Different types of screen protectors, including anti-glare and privacy screens, cater to varying user needs, enhancing both visibility and security. To ascertain the best choice, it is wise to explore community feedback and product reviews, which can illuminate the most effective and easy-to-use protector options available today. Tool-free installation across various models ensures quick setup and hassle-free use, similar to the best scooter phone mounts, which prioritize ease of use and efficiency.
Frequently Asked Questions
What Are Common Mistakes When Removing Protectors?
Common mistakes when removing protectors include improper peeling technique, which can cause misalignment or tearing, rushing the process, and neglecting to verify the screen is clean, all of which may lead to remnants or damage.
Can You Remove Air Bubbles After Applying?
Air bubbles, like pesky intruders, can indeed be removed after application. Bubble removal often involves gentle pressure with tools, patience as adhesive settles, and pinpoint precision for stubborn bubbles, ensuring a flawless, clear screen protector surface.
What Are Common Screen Protector Mistakes?
Common screen protector mistakes include inadequate cleaning, rushing the application, improper alignment, and insufficient pressure during installation. These application techniques can lead to trapped dust, air bubbles, and eventual misalignment of the protector itself.
Do Screen Protector Bubbles Eventually Go Away?
Will those annoying bubbles really vanish? Indeed, with time and the right conditions, bubble resolution occurs naturally. Minor adjustments in adhesive aid disappearance, but persistent bubbles can be smoothed out for an improved appearance.